Showing posts with label Christmas. Show all posts

Sunday, December 30, 2012

Our Christmas Morning 2012


Santa came to our house and once again between Santa and all of our loving family, we couldn't want or need for any more presents!  Looking back, I didn't take all that many picures, I guess I was too busy enjoying the morning with my sweet family.  Here are a few that I did get though.

Hand carved pilot wings from R2R Designs, they are
 fellow Coastie Wifes that make great things!!  Check them out.
Plus a new Remote Control plane for my Happy Hubbie :)
 Middle Sis bought me this pretty bracelet from her school's holiday boutique.
The grls new hats from one set of Grandparents.
Sparkly boots and skinny jeans for big Sis from Santa
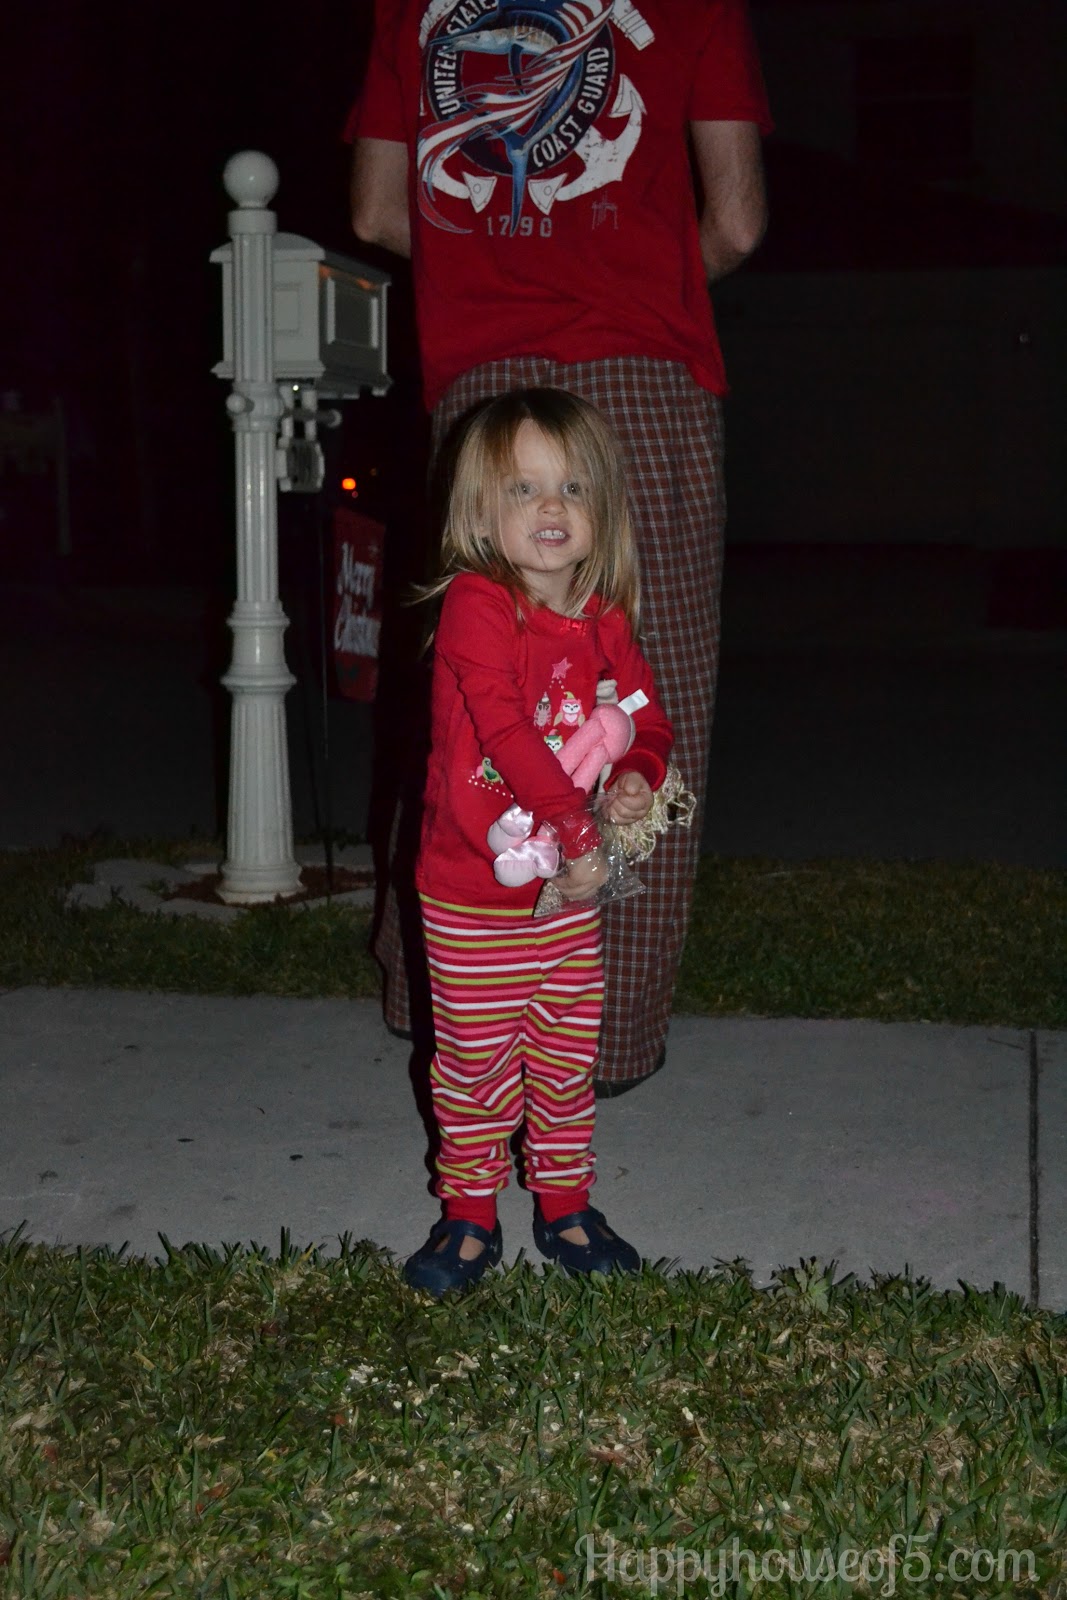
Some presents from cousins and Great Grandparents.
Santa brought Little Sis this Rapunzel doll, and a Minnie Mouse hair/make-up set. 
She put on more "lipstick" every 10 seconds!!  She loved it.
 
Then at the very end of opening all the presents, Santa had left a BIG surprise!!!
A Scavenger Hunt with clue's scattered across the house that ended back to a present under the tree that left the following items and announcement:
(I made the girl these Minnie Mouse shirts
 the same way I showed you how on my Pumpkin Shirt)
"Merry Christmas Girls....We are going to DISNEY!!! 
 Love, Santa, Daddy and Mommy"
The girls are BESIDES themselves with EXCITEMENT!!
 I found free printables to make autograph books at All Sam's Idea's, saving us at least $35!
I printed them out, cut them down to size, punched holes and hooked them with  metal ring clips.  I read that we should bring fat pens with us so the characters can sign them.
I found a really cute Disney contdown on Etsy but decided to save some more money and make my own cardboard version.  I spray panted a peice of cardboard wih chalkboard paint, then taped a Mickey Mouse head on top of that and spray painted over that with white spray paint.  I used scrapbooking stickers and some ribbon to decorate it a little more.  I'm sure a wooden plaque woud hold up better than cardboard but it only needs to last for 8 days, so I'll deal with that :)
My husband bought me a GREAT Christas present this year and I'm very excited to learn how to emrboider things and make appliqued shirts for the girls and if I get good at it....who knows maybe I'll start a little business making them for Happy House of 5's Followers and your kiddos!! :)


Thursday, December 27, 2012

Christmas Eve and Magical Reindeer Food

It's a few days past Christmas and I'm just getting around to blogging about Christmas Eve.
I've really been enjoying the past few days with my sweet little family. It's so nice not having to get the girls up early for school and the husband off to work. I'm not too sure how much blogging I'll get around to doing the next two weeks with the girls off from school and husband taking vacation time but once they're back I'll get back to some blogging business!! Looking forward to what 2013 holds for Happy House of 5.
Little Sis and I made some sugar cookies, she loved pressing the shapes out.
She wants to help me more and more in the kitchen, most days I love it but sometimes I just need to hurry and get dinner on the table.
Days like this is when we slow down and enjoy our time together! 

This is a picture before church on Sunday before Christmas.
 Little Sis, aka Mrs. Clause.
 I took at least 20 pictures to get these two cute ones of her actually holding still.  Little stinker;)
 This is us getting ready for the Christmas Eve church service.  Big and Middle Sis wore these dresss from one of their Grandparents and they were beautiful so I've been storing them and now it's Middle and Little Sister's turns to wear them together.  Love these dresses, hopefully Little Sis will get to wear the bigger one someday too.
 It just doesn't get any sweeter than sister kisses.
Our three grils before church
 On Christmas Eve we always let the girls open one present, their Christmas pajamas.....our new name for these are their Jingle Jammies....heard that at church recently and thought it was too cute.
 Yes, I'm that Mom.....I bought matching Jingle Jammies for all three girls.  Honestly they were a little too warm for our South Florida Christmas Eve but they did make for a great picture.  I'll take what I can get.  Plus we are now having another cool front so hopefully we will get some use out of them, and then little Sis can grow into them. 
After we opened our jammies, we met outside and sprinkled Reindeer food with our neighbors.  I made a bunch of reinder food using Amanda's Parties To Go adorable printable.   I put oatmeal oats, glitter and some cookie sprinkles into baggies and tied them with some ribbon for all the kiddos.
 
 Little Sis spreading out the food for the reindeer.
Time to leave some milk, cookies and carrots out for Santa and the reindeer.
We had a great time at our church's service, I just love to sing the Christmas carols and light the candles.  It's just beautiful to look around the sanctuary and see all the families with their candles.  Happy Birthday to our Dear Jesus, we are ready for Christmas Day 2012!


Tuesday, December 25, 2012

Merry Christmas!!


Wishing you all a very Merry Christmas!  May your day be blessed with family time, traditions and celebrating the TRUE reason for the Season!
HAPPY BIRTHDAY JESUS!!!!!


Thursday, December 20, 2012

Christmas Mini Mantel

 I finally finished our mini mantel by the front door today.  I know, I know a little late but that's ok with me.  I found the Christmas Subway Art printable on How to nest for less
I LOVE the Santa kneeling down to Baby Jesus, found
 this for just a couple of dollars at Walgreens!
 I bought a plastic doll cone from Joann's, it was cheaper than the Styrofoam ones, and wrapped it with white duct cloth that I already had. 
Then I added this garland that I found at Walmart.  It's beginning to look a lot like Christmas here at the Happy House of 5, now if only we have a big cold front blow through like they are predicting :)


Wednesday, December 19, 2012

Our 2012 Christmas Card and Display Ideas

One of my favorite things about Christmas is walking to the mailbox and opening all the Christmas cards that we get from Family and Friends.  My favorite are of course pictures!  Since we live away from Family and lots of our friends it's so great to get some recent pictures to hang up in our house. 
 I'm a picture lover and usually the one taking the pictures so I'm not usually in them. 
This year I asked a fellow Coast Guard Spouse to take our picture for us at our favorite local park.  She did a great job!  Here is our 2012 card:
The girls are all growing up so fast and turning into beautiful little ladies!
This is last year's tree and how I display our cards.
I decorated some clothes pin with white, green and red scrapbook paper and hang them on white ribbon. 
I still have last years pile of cards sitting in my kitchen drawer and I recently found a great printble over at eighteen25 that I'm going to use to make a card keepsake book.
I also like Simply Kierste's great idea of making Family Lacine Cards for the kiddos. 
If you are a follower of my blog I would love to see your Christmas card!  Leave a link in the comments below :)  I'm also linking up to the SITS Girls Holiday Card Link-up.

Tuesday, December 18, 2012

Pretzel Kisses and a Sweet Gift Idea

 My Mother In Law introduced me to this simple and delicious recipe several years back, and today I'm making them as gifts for Teachers, Coaches, Mail Person, Sunday School Teachers, Girl Scout Leader, etc... The great thing about these Pretzel Kisses are that you can make them for all sorts of occasions, whenever there is a holiday, you can find the m&m's in different colors. The girls love helping me make them and they are very yummy. Big Sis said it well tonight, "It's amazing how yummy something so simple can be!"
Line a cookie sheet with Pretzel Snaps, place an unwrapped Hershey kiss on top.  We used the peppermint kisses this time but regular chocolate is super yummy too!  Bake at 200 for approximately 7 minutes, make sure you keep an eye on them so that they don't get too warm and start melting.  Remove from oven once slightly softened, immediately press an m&m while still warm.  Allow to cool completely or overnight before placing in container for gifts. 
 
I bought these Christmas Tree Containers at Walmart and they make the perfect Christmas gift.
This is a gift I received recently and thought it was such a cute idea!
A Queen Bee hand towel, honey dipper and a personalized bottle of honey.  So SWEET ;)


Monday, December 10, 2012

Mesh Christmas Wreath

I saw a great tutorial on the Johnny In a Dress blog recently on a Christmas themed wreath made out of deco mesh.  I've never worked with this before but was ready to give it a try.   
 I used some ribbon with red swirls that was see through and placed it on top of the green ribbon.  Then I added the jingle bells to embelish it a little more. 
 Check out Natalie's blog for a very thorough tutorial :)
 Then enjoy watching your girls play with baby
dolls and sip some Hot Cocoa by the Christmas Tree.
I sure do love this time of year! 
Merry Christmas to all!


Saturday, December 8, 2012

Snickerdoodles

Today Big Sis helped me bake up some yummy Snickerdoodle cookies for an upcoming Coast Guard cookie exchange. Our house smells delicious and we have some soft snickerdoodles to enjoy and share with others. I can't wait to see the cookie's the other ladies are busy baking up!
Sift together flour, soda, cream of tartar and 1/2 tsp salt.
Beat butter for 30 seconds; add 2 cups sugar and beat until fluffy.
Add eggs, milk and vanilla; beat well.
Add dry ingredients to beaten mixture, beating until well combined.
Form dough into 1" balls, roll in a mixture of 3 tbsp sugar and 1 tsp sugar.
Place balls 2" apart on cookie sheet, flatten slightly.
Bake at 375 for 8 minutes or until light golden brown.
Snickerdoodles:
3 3/4 cup flour
1/2 tsp baking soda
1/2 tsp cream of tartar
1 cup butter
2 cups sugar
2 eggs
1/4 cup milk
1 tsp milk
3 tbsp sugar 1 tsp cinnamon
Sift together flour, soda, cream of tartar and 1/2 tsp salt. Beat butter for 30 seconds; add 2 cups sugar and beat until fluffy. Add eggs, milk and vanilla; beat well. Add dry ingredients to beaten mixture, beating until well combined. Form dough into 1" balls, roll in a mixture of 3 tbsp sugar and 1 tsp sugar. Place balls 2" apart on cookie sheet, flatten slightly. Bake at 375 for 8 minutes or until light golden brown. Mmmm....ENJOY!


Related Posts Plugin for WordPress, Blogger...